
Core Foundations: Choosing Between Software Emulators, Flash Carts, and FPGA Hardware
Building an ideal retro gaming setup starts with deciding how you want your classic titles to run. Software emulation through programs like RetroArch offers unprecedented accessibility across modern operating systems, Raspberry Pi setups, and portable devices like the Steam Deck. This approach provides useful modern conveniences, including real-time rewind features, custom scanline shaders, and save state management, which captures complete snapshots of your game’s current progress outside of standard memory card restrictions.
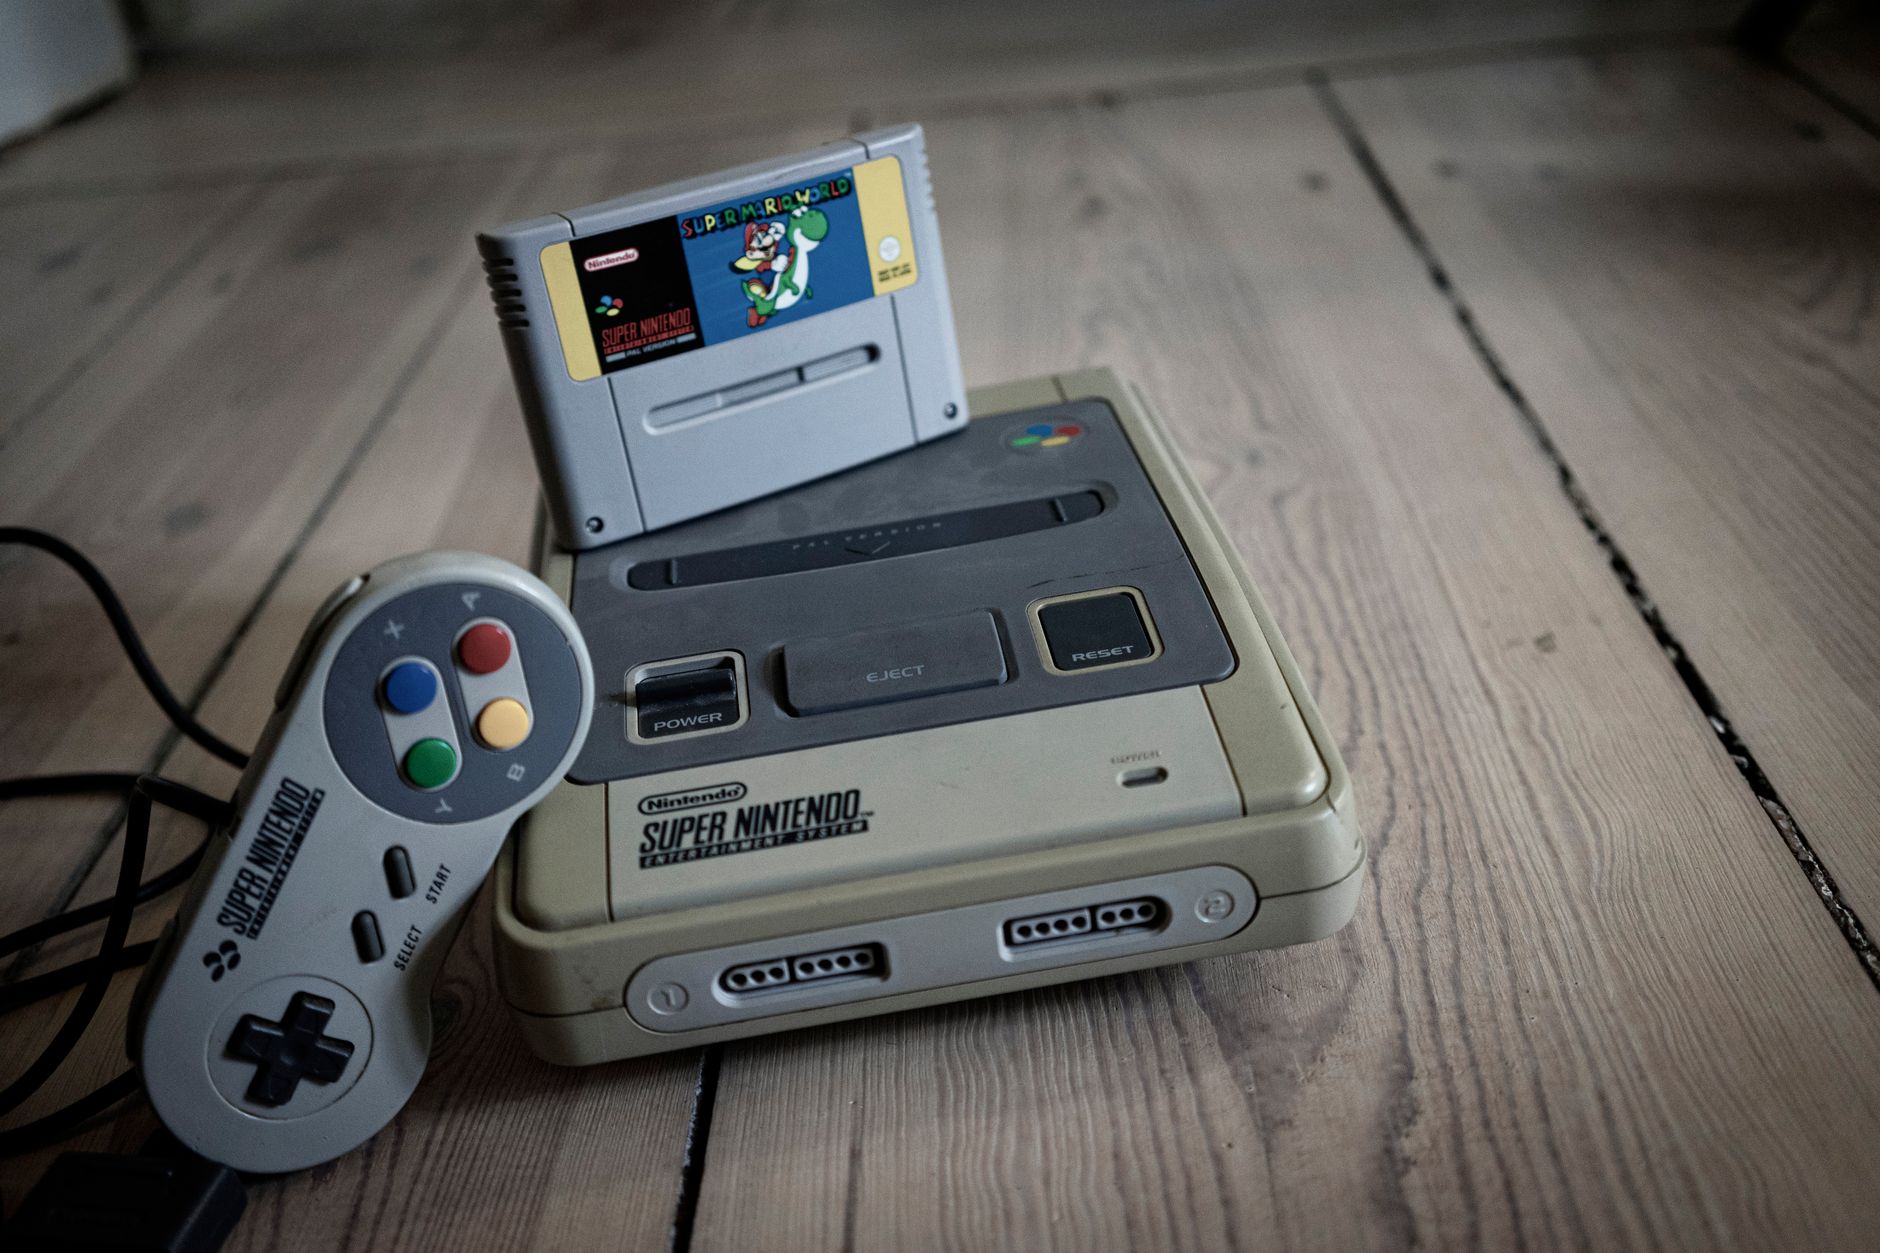
If you prefer utilizing genuine vintage consoles, flash carts such as the EverDrive series engineered by Krikzz deliver an authentic bridge to physical machines. Loading ROM files directly onto a microSD card inside an EverDrive cartridge allows systems like the NES, Super Nintendo, Sega Genesis, and Nintendo 64 to interact with game data exactly as they would with original cartridges. Premium models even support instant in-game menus, cheat code toggles, and direct save state capabilities without introducing software emulation overhead or timing discrepancies.
For enthusiasts demanding hardware-level fidelity without original console upkeep, Field-Programmable Gate Array (FPGA) devices offer the definitive modern solution. Unlike software emulation that approximates instructions via CPU translation, FPGA platforms like the MiSTer project and the Analogue Pocket replicate vintage microchips at the physical circuit level. This hardware modeling achieves cycle-accurate performance and ultra-low input latency across generations of systems, striking the perfect balance between original silicon accuracy and modern high-definition video standards.
Configuring RetroArch Cores and Managing Essential Console BIOS Files
RetroArch functions as a unified open-source front end powered by libretro cores, allowing players to run entire multi-platform libraries through a singular, customizable interface. Setting up the platform requires selecting and downloading dedicated cores tailored to specific hardware architectures, from 8-bit handhelds to 32-bit disc-based systems. Fine-tuning per-core settings unlocks advanced rendering options, CRT filter presets, network play, and custom button mappings designed to match original controller response curves.
While simpler 8-bit and 16-bit systems boot game images directly, advanced platforms such as the Sony PlayStation, Sega CD, and PlayStation Portable mandate valid console BIOS files to initialize system calls and run games properly. The Basic Input/Output System represents proprietary system firmware that emulators require for boot sequencing and hardware timing. To maintain legality and ensure optimal stability, you should dump these BIOS images directly from consoles you physically own before placing them into RetroArch’s designated system directory.
Once your firmware files and cores are properly matched, testing boot sequences ensures complete audio synchronization and prevents sudden crashes during gameplay. Managing multiple BIOS revisions across regional variations guarantees seamless compatibility with international ROM collections. Organizing these system files systematically inside RetroArch ensures uninterrupted sessions, letting you transition from early arcade boards to demanding disc-based adventures with instant save state support and dependable performance.
Mastering Video Output: 240p Signals, RGB SCART Cables, and CRT Displays
Experiencing classic games as their developers intended requires a solid grasp of vintage video standards, primarily the native 240p progressive signal. Used extensively from the 8-bit era up through early 3D console generations, 240p consists of approximately 240 active progressive lines rendered every frame. Modern flat-panel televisions frequently misinterpret this signal as interlaced 480i video, introducing unsightly motion deinterlacing artifacts, smeared pixels, and noticeable processing lag during fast-paced retro gameplay.
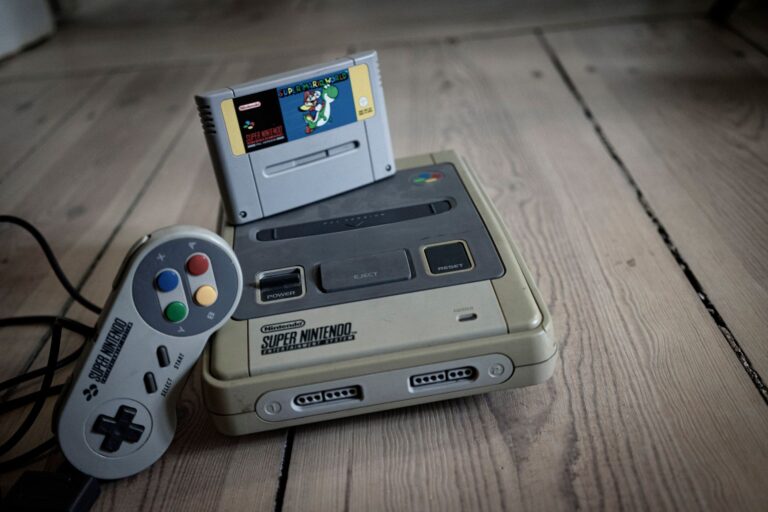
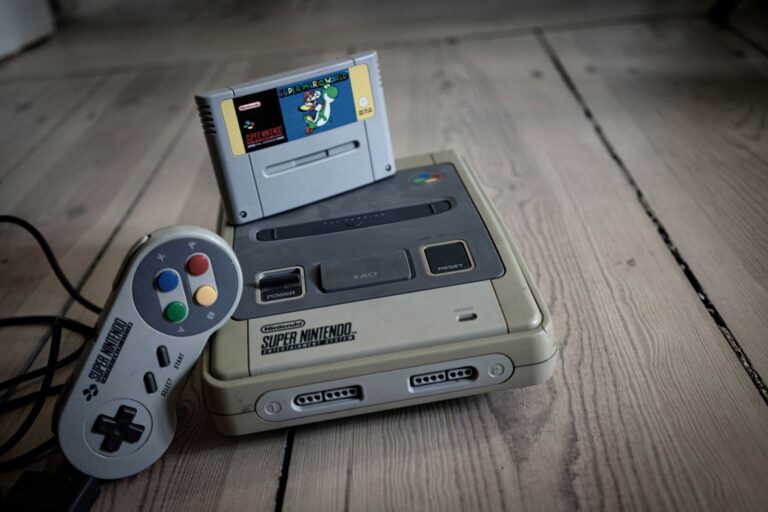
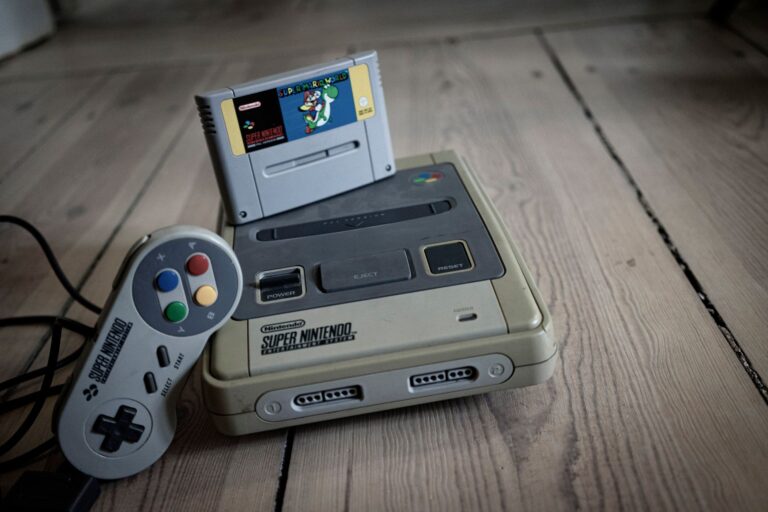
Connecting original hardware to authentic Cathode Ray Tube (CRT) displays remains the gold standard for latency-free retro gaming. CRTs draw 240p video lines natively, leaving distinct blank gaps between scanlines that sharpen sprite artwork and blend dithered color patterns naturally. To achieve the cleanest analog video signal on compatible European consumer sets or professional video monitors, utilizing dedicated 21-pin RGB SCART cables for systems like the Super Nintendo, Sega Mega Drive, and original PlayStation bypasses the noisy color bleed of composite connections.
For players who prefer modern flat-panel displays or lack the space for bulky vintage televisions, specialized hardware upscalers like the RetroTink bridge the analog-to-digital divide. These low-latency upscalers accept pristine RGB SCART inputs and cleanly scale 240p content into high-definition digital formats with custom artificial scanlines and pixel-grid filters. Combining proper cabling with accurate signal line-doubling preserves crisp sprite clarity and zero-lag control responsiveness across any modern display setup.
Enhancing Handhelds and Consoles: EverDrive Carts and IPS Screen Kits
Upgrading original handheld hardware like the Nintendo Game Boy and Game Boy Color transforms vintage portable gaming into a modern, comfortable experience. Installing an aftermarket IPS kit replaces the dim, reflective stock LCD with a vivid, backlit panel that delivers crisp pixel clarity, rich color reproduction, and adjustable brightness settings. While fitting an IPS screen kit typically requires minimal shell modification and light soldering for brightness wire controls, the resulting visual upgrade eliminates eye fatigue without sacrificing original form factor authenticity.
Pairing modified handhelds or stationary home consoles with an EverDrive flash cartridge creates an all-in-one preservation powerhouse. Engineered by Krikzz, the EverDrive line covers systems including the NES, Super Nintendo, Sega Genesis, Game Boy, and Nintendo 64 by loading ROM files directly from standard microSD cards. This setup routes game data through genuine console circuitry just like an official retail cartridge, bypassing failing mechanical disc drives and dirty cartridge pins while keeping your rare collectible games safe on the shelf.
Beyond running entire libraries on original silicon, premium flash carts bring convenient software features to classic machines. High-end EverDrive models provide instant in-game menus, cheat code toggles, and direct save state capabilities. By backing up battery save files directly to the microSD card during system resets, flash carts protect your campaign progress against the inevitable battery death of aging internal cartridge SRAM chips.
Walkthrough Strategies, In-Game Cheats, and Effective Save State Management
Conquering notoriously demanding 8-bit and 16-bit classics requires a structured approach to walkthrough execution and progress tracking. Complex retro role-playing games and unforgiving action platformers benefit heavily from breaking long play sessions into modular segments. Modern tools integrated into RetroArch cores and premium flash carts allow you to enable cheat databases on the fly, making it easy to practice difficult boss patterns, test hidden secrets, or bypass grueling level design obstacles without restarting entire stages.
Understanding the operational difference between traditional in-game saves and save states is essential for maintaining smooth campaign flow. A save state captures a complete snapshot of the game’s exact system memory at a precise millisecond, letting you reload instantly anywhere. While in-game saves require reaching designated checkpoints, save states allow you to pause during long boss fights or hazardous stages. However, relying entirely on a single state slot can lead to softlocks if you inadvertently save right before taking unavoidable damage.
To guarantee complete data integrity throughout comprehensive retro walkthroughs, establish a disciplined save routine. Maintain regular in-game battery saves at natural save points, and treat save states as supplementary safety nets by rotating between multiple save slots. This balanced strategy shields your valuable game progress against unexpected state corruptions while letting you experience the original gameplay challenge as the developers intended.
Frequently Asked Questions About Retro Emulation and Gaming Hardware
What is the difference between software emulation and FPGA hardware? Software emulation uses programs like RetroArch to translate vintage game instructions through modern computer processors, providing flexible features like shaders and rewinding. FPGA platforms like the MiSTer and Analogue Pocket recreate the actual hardware circuits of retro consoles at the chip level, resulting in cycle-accurate timing and negligible input latency at a higher hardware investment.
Which retro systems require external BIOS files to run? Most 8-bit and 16-bit cartridge systems boot ROM files directly without extra firmware. Advanced disc-based and 32-bit platforms, such as the Sony PlayStation, Sega CD, and PlayStation Portable, require authentic console BIOS files placed in your emulator system folder to initialize system calls and ensure stable game execution.
Why do retro consoles look blurry when plugged directly into modern TVs? Vintage consoles output a native 240p progressive video signal that modern flat-panel displays often mistake for 480i interlaced video, creating visual blur, improper deinterlacing, and input lag. Running RGB SCART cables through dedicated low-latency upscalers like the RetroTink, or playing directly on authentic CRT monitors, restores sharp native scanlines and lag-free responsiveness.