
Choosing the Hardware Core: Original Consoles, Flash Carts, and FPGA Precision
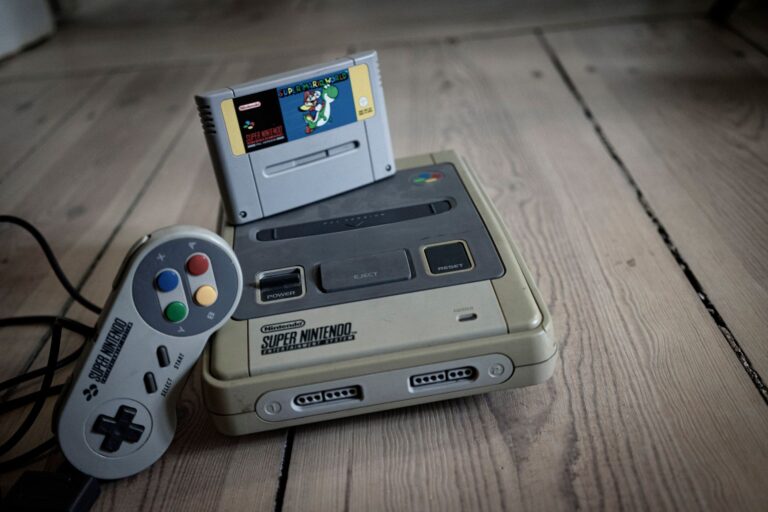
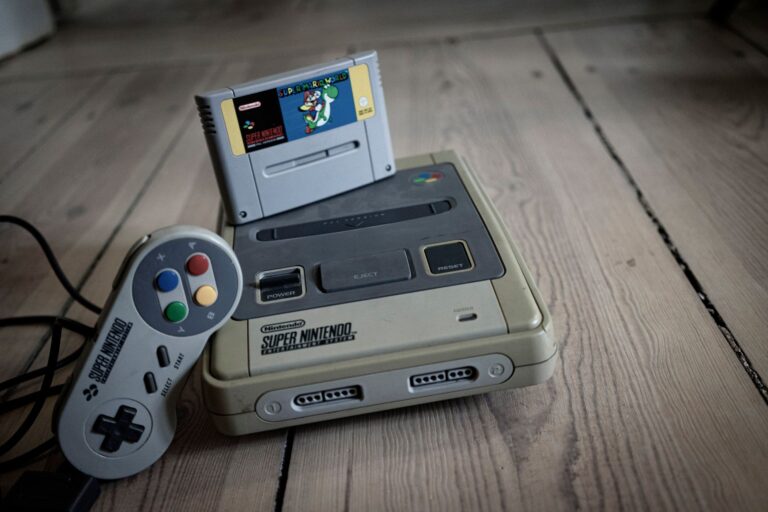
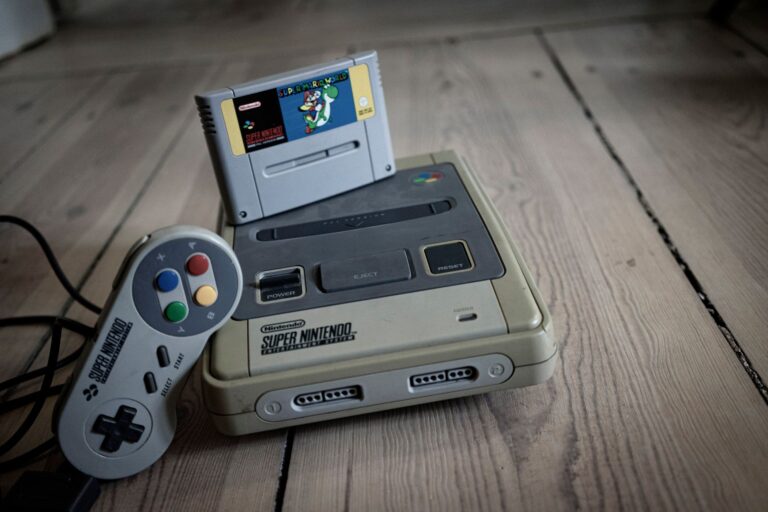
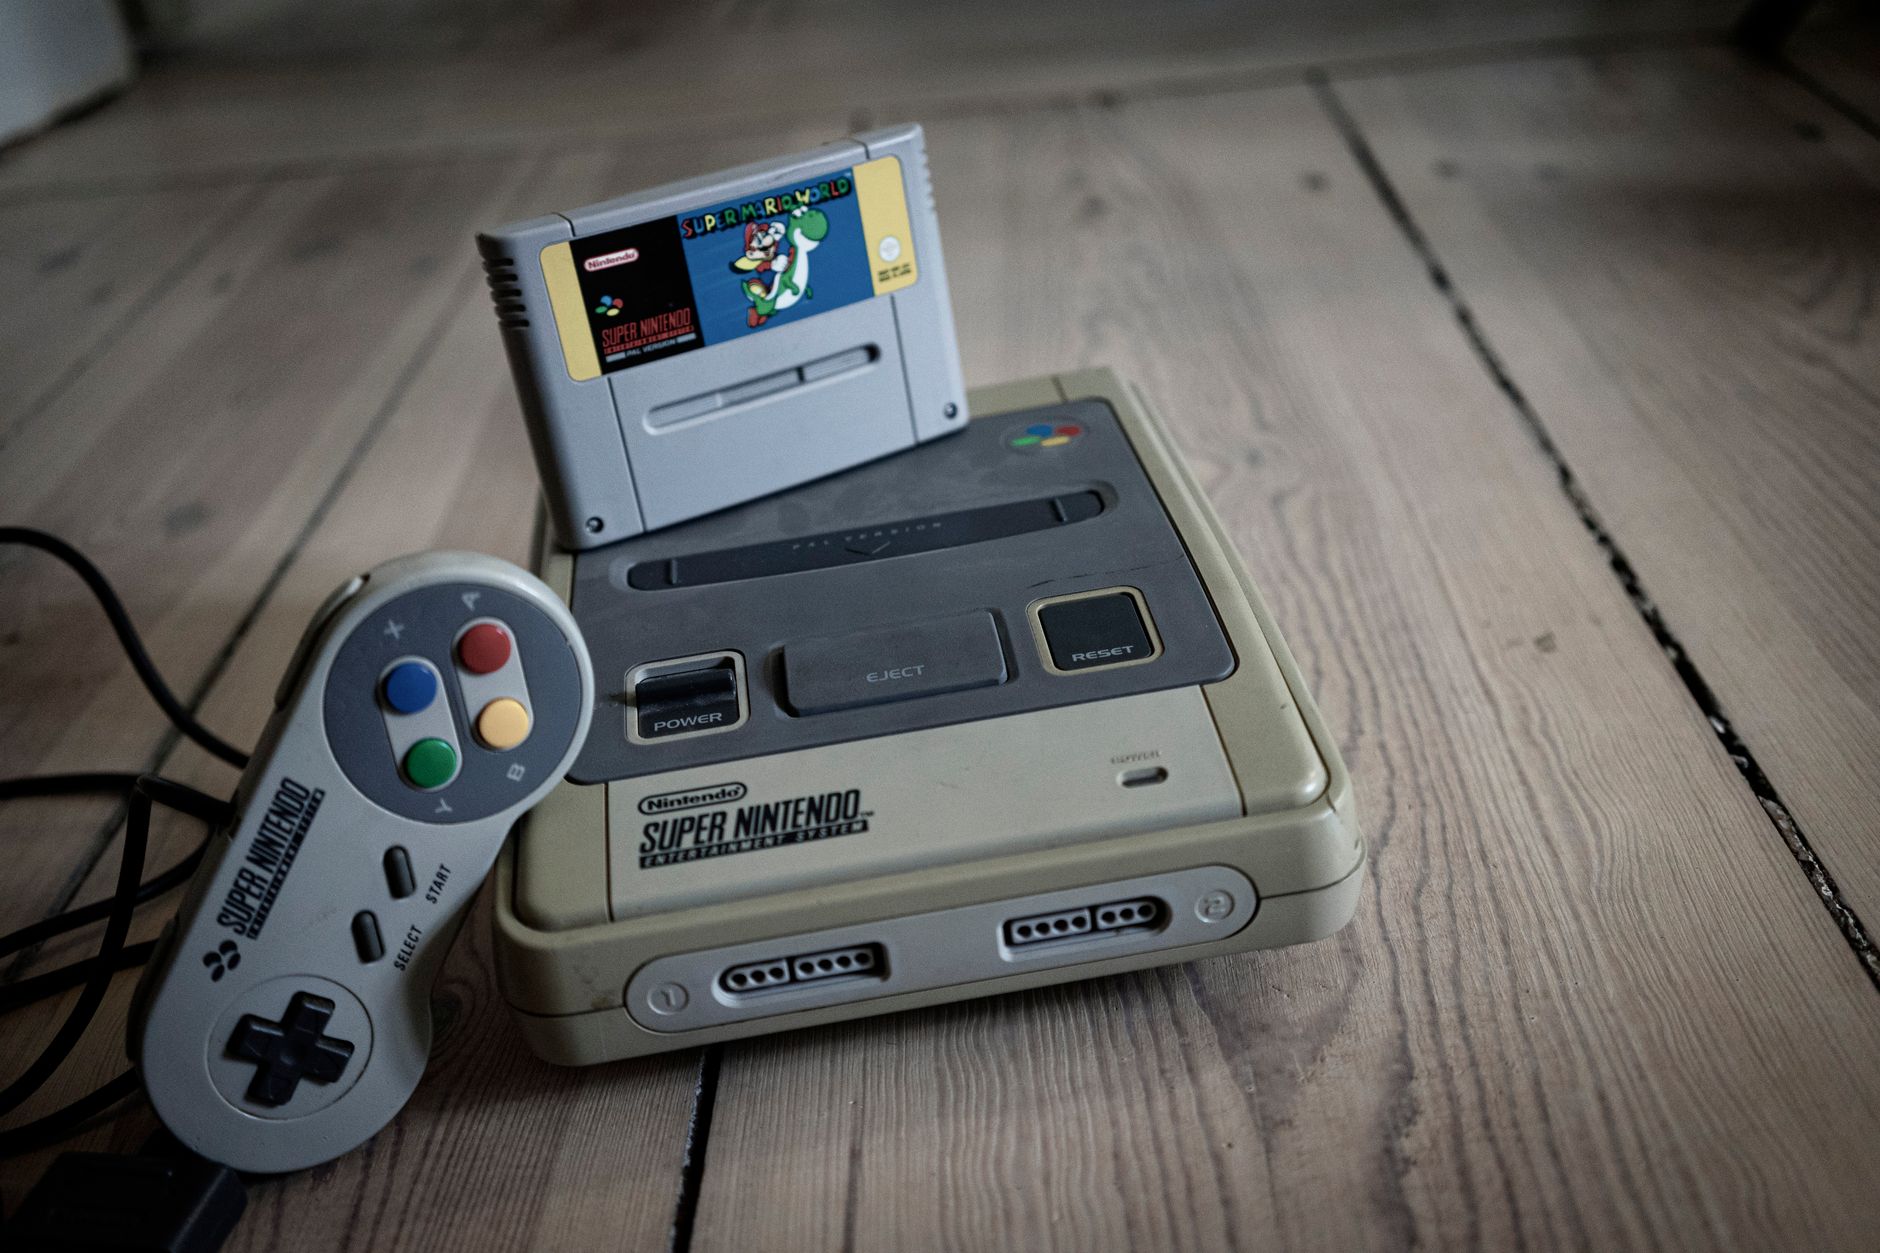
Selecting the foundational platform for your retro gaming setup dictates your entire balance between convenience, cost, and historical fidelity. Genuine vintage consoles remain the standard for tactile authenticity, yet running original optical discs and vintage game cartridges presents mounting wear on aging media. Inserting a dedicated flash cart into original cartridge slots–such as Krikzz’s dependable EverDrive lineup covering the NES, Super Nintendo, Game Boy, Nintendo 64, and Sega Genesis–resolves this by reading digital ROM backups from a standard microSD card. These specialized cartridges interface natively with the console’s bus, providing instant loading, custom in-game menus, and save state creation on supported models without altering the original audio or video processing path.
Players pursuing absolute cycle precision without the maintenance hurdles of decades-old capacitors often pivot toward Field-Programmable Gate Array technology. Rather than translating machine code through software layers, FPGA devices like the Analogue Pocket and the open-source MiSTer platform configure programmable logic circuits to mirror classic CPUs, sound chips, and custom graphics silicon at the electrical level. This architecture achieves negligible input latency and cycle-accurate behavior that standard software emulation strives to match. While FPGA platforms involve a higher upfront investment than PC-based solutions, they deliver identical timing, native peripheral handshakes, and jitter-free performance across both 8-bit and 16-bit generations.
Display Routing and Signal Quality: SCART Routing, 240p Standards, and CRT Monitors
Display delivery forms the heart of visual authenticity, hinging entirely on the classic 240p progressive video standard. Consoles from the third through fifth generations output this low-resolution signal to paint alternate raster scanlines on classic Cathode Ray Tube displays. A proper CRT monitor processes 240p images natively with instant electron beam illumination, completely bypassing digital buffer lag and yielding authentic phosphor glow. Contemporary flat-panel televisions routinely mistake 240p for 480i interlaced video, applying muddy deinterlacing filters and sluggish post-processing that ruin both sprite clarity and timing-critical gameplay.
Preserving pure picture quality requires stepping away from blurry composite video in favor of RGB SCART connections. The European 21-pin SCART interface delivers discrete red, green, blue, and synchronization channels, offering clean pixel definition and vibrant color saturation for machines like the Super Nintendo, Sega Mega Drive, and Sony PlayStation. When integrating these consoles into modern living room setups, routing clean RGB SCART cables directly into dedicated line doublers and upscalers, such as the RetroTink family, translates 240p signals into modern digital video formats without input lag, faithfully reproducing authentic scanlines on modern panels.
Software Emulation Mastery: RetroArch Setup, Required BIOS Files, and Latency Control
Software emulation delivers unmatched flexibility and preservation capabilities when configured with methodical precision. RetroArch serves as the definitive open-source front end for multi-system retro setups, centralizing varied libretro cores under a single responsive user interface. Whether deployed on a dedicated desktop PC, Linux build, or portable handheld like the Steam Deck, RetroArch enables per-core configurations, comprehensive CRT shader overlays that reconstruct authentic shadow masks, online netplay matchmaking, and robust save state manipulation that allows instant progress recovery beyond restrictive in-game save points.
Reaching optimal emulation performance requires careful handling of system firmware alongside precise input timing tweaks. Advanced optical systems like the Sony PlayStation, PlayStation Portable, and Sega CD strictly require legitimate BIOS files placed directly within the system directory before booting software images, which should always be dumped directly from hardware you personally own. Once the BIOS environment is established, dialing in latency management features within RetroArch minimizes controller delay. Leveraging frame delay buffers and the appropriate audio sync drivers bridges the responsiveness gap, bringing keyboard and gamepad responses strikingly close to original circuit boards.
Gameplay Walkthrough Tactics: Save State Management and Unlocking In-Game Cheats
A save state captures a complete snapshot of a game’s system memory, CPU registers, and audio buffers at any precise fraction of a second. Unlike native in-game saves, which depend on hardcoded battery-backed SRAM points or designated memory card terminals, save states allow you to freeze and resume execution instantly from any point on screen. Modern software suites like RetroArch assign these snapshots to dedicated hotkey combinations and numbered slots, making them indispensable during demanding walkthrough runs. Supported flash carts like Krikzz’s EverDrive line also bring this capability directly to original console hardware, allowing players to practice grueling platformer jumps, boss attack patterns, and speedrun splits without repeating twenty minutes of preceding levels.
Maximizing these tactics requires disciplined file handling to avoid corrupting your progression. Keep separate slots for milestone checkpoints and temporary testing points, because accidentally writing an emergency save state during an unavoidable death animation will permanently lock your run into a fail loop. In-game cheats function alongside this workflow by altering specific RAM addresses on the fly. Whether inputting classic Game Genie codes or Action Replay memory addresses through libretro menu toggles, always activate memory modifications only after establishing a clean, unmodified save point. Toggling infinite health or item modifiers at the wrong transitional screen can scramble event flags in complex 16-bit role-playing games, so verify stability across screen transitions before proceeding through major story sequences.
Handheld Screen Upgrades and Hardware Maintenance: Installing IPS Kits and Flash Memory
Upgrading classic portable consoles from reflective, unlit passive-matrix screens to modern backlit panels fundamentally revitalizes handheld gaming. An aftermarket IPS kit replaces the dim, smear-prone liquid crystal display of machines like the Nintendo Game Boy or Game Boy Color with a vibrant, high-density panel offering crisp pixel edges and wide viewing angles. Most modern conversion kits provide pre-laminated glass lenses, custom ribbon cables, and drop-in brackets that fit into original or aftermarket shells with minimal trimming. Completing the mod often requires light soldering to bridge brightness pads to button test points on the motherboard, giving you instant on-the-fly dimming controls during evening sessions.
Pairing a backlit IPS upgrade with flash storage completely updates your portable library into a single pocketable system. Hardware like the EverDrive-GB reads clean ROM images directly from FAT32-formatted microSD cards, bypassing the mechanical wear of swapping fragile legacy cartridges on the road. Because IPS panels and flash carts draw slightly higher peak amperage than original factory parts, maintaining proper power delivery is vital. Clean the console’s internal power switch contacts with dedicated electronic contact cleaner, replace worn rubber button membranes, and inspect aging electrolytic power capacitors for signs of bulge or leakage to ensure clean voltage across both the screen ribbon and the cartridge bus.
Frequently Asked Questions About Retro Hardware Configurations
Can modern flat screens accurately display 240p signals without dedicated scaling hardware? Most modern 4K and OLED televisions interpret vintage 240p progressive signals as 480i interlaced feeds, creating visible visual artifacts, smudged vertical resolution, and severe display processing lag. Routing classic composite or RGB SCART outputs through an external zero-lag upscaler like the RetroTink converts low-resolution signals into sharp, modern digital feeds while accurately generating authentic scanline overlays and preserving tight controller response.
What makes FPGA systems different from standard software emulation front ends? Software emulators like RetroArch translate vintage console machine code through multiple operating system abstraction layers on general-purpose processors, which inherently introduces minor frame and audio latency. Field-Programmable Gate Array devices like the MiSTer and Analogue Pocket physically configure reprogrammable logic gates to reproduce original hardware chips at the electrical circuit level, resulting in precise cycle accuracy and real-time input response without reliance on high-overhead operating systems.
Why do certain disc-based emulators refuse to launch games without BIOS dumps? Complex CD-ROM consoles like the Sony PlayStation, PlayStation Portable, and Sega CD rely on proprietary Basic Input/Output System firmware to handle system calls, CD drive timings, and memory controllers. Because these system firmware files remain under copyright, emulators require you to dump genuine BIOS images from your personally owned consoles and place them within the emulator’s system folder before software discs can execute properly.