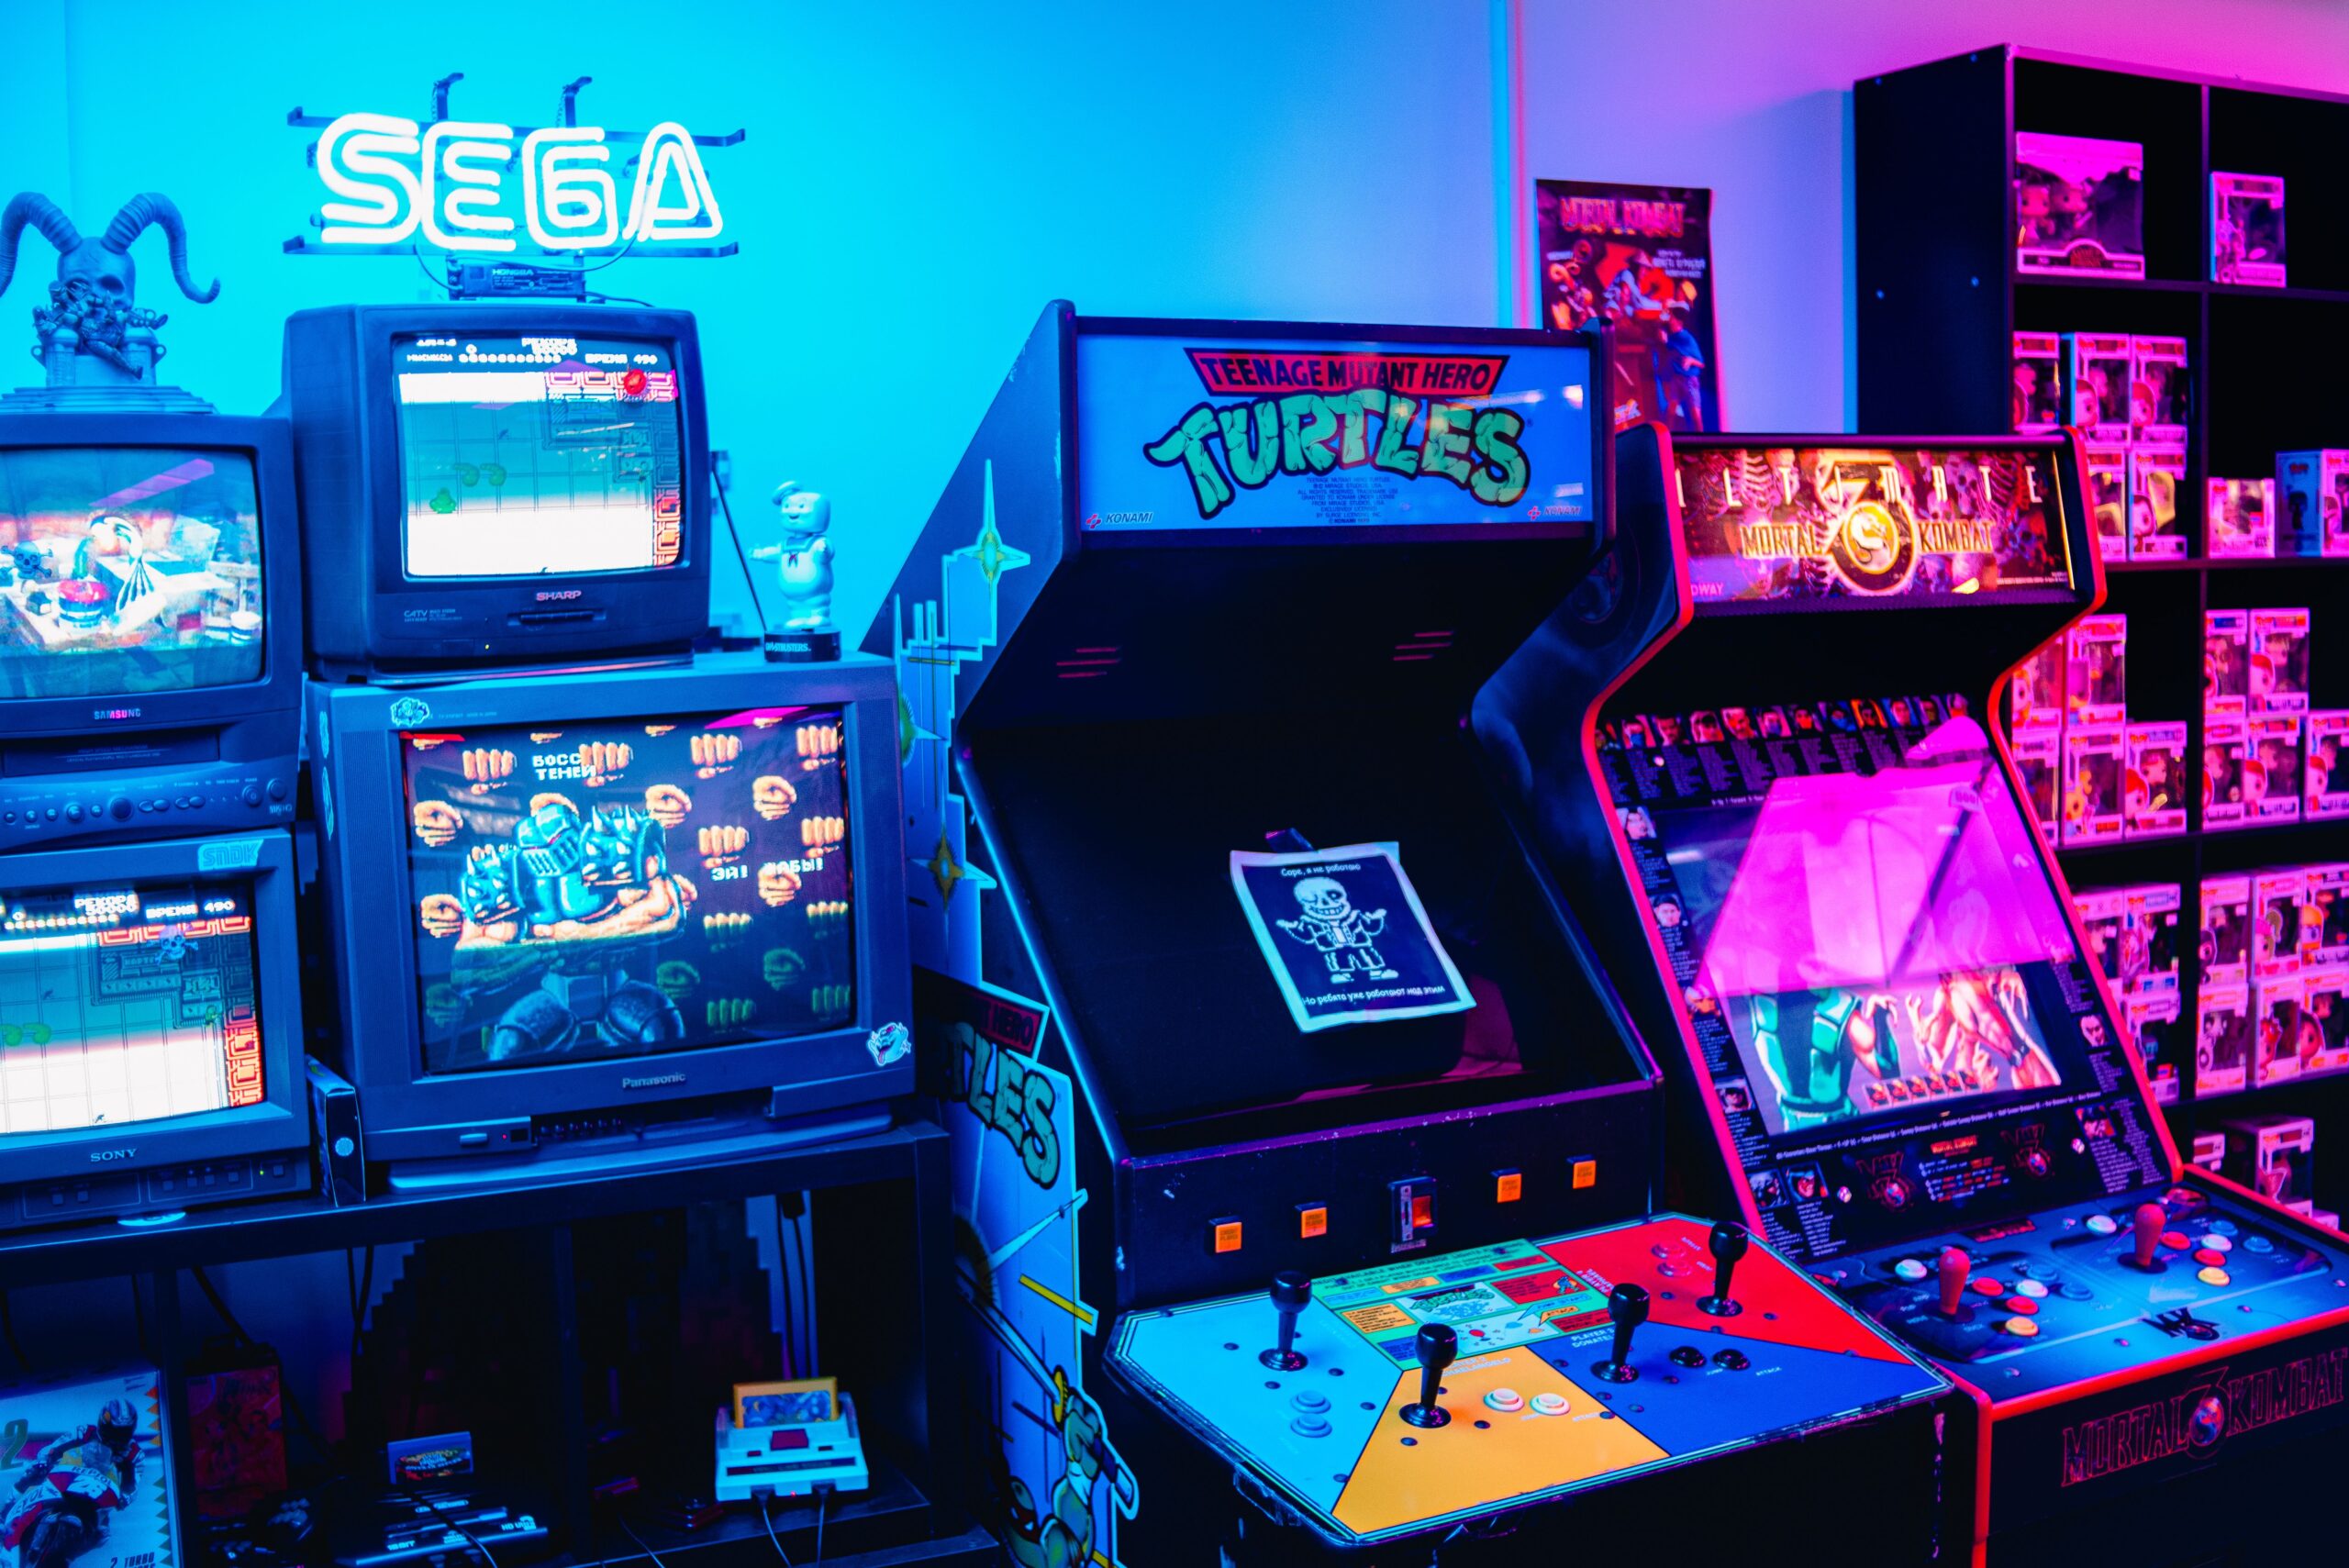

Let me start with an honest confession: I have spent the last four months obsessing over my own retro gaming setup, and I have made every mistake you can possibly make. I have bought a scaler that did nothing, a switching box that added lag, and enough HDMI cables to upholster a sofa. I have also rebuilt the whole thing three times, and now — finally — it works beautifully.
That is exactly why I want to write this guide. Most articles about building a retro gaming setup are written by people who own a single console and a single cable. I have six consoles hooked up to one display, and if I can help you skip the pain I went through, this article will have done its job.
Before we start, one important note: this guide assumes you already own or plan to own original hardware. If you want to play on modern displays with emulation instead, you should read our guide on how to play retro games on a modern TV first, because a lot of the video-chain advice overlaps.
Step One: Decide What the Setup Is Actually For
I know this sounds obvious, but it is the step almost everyone skips. Your retro gaming setup will look completely different depending on what you want it to do, so before you spend a single euro, ask yourself these three questions.
Do you want to play original carts and discs, or are you happy with flash carts and ODEs? If you are all-in on original media, you need more shelving and you need to care about cartridge storage conditions. If you are fine with an EverDrive or an ODE, your footprint shrinks dramatically and you can focus everything on the video chain.
How many consoles do you actually want connected at once? There is a huge difference between “I want my SNES and my Mega Drive on a shelf” and “I want a CRT with six consoles.” Be honest with yourself. If you have not touched a console in two years, you do not need it permanently wired up. You can store it and connect it when you want to play it.
Where will the setup live? A dedicated room gives you freedom. A corner of the living room forces you to compromise on the display, the seating, and how much gear you can leave visible. There is no shame in a corner setup, and some of the cleanest builds I have seen are tucked into a spare bedroom.
Answering these three questions honestly saves you from buying a $150 switching matrix when you only ever play one console at a time.
Step Two: Choose Your Display
This is the single most important decision in any retro gaming setup, and it is the one people get wrong the most often. Let me break down the options.
Option A: The CRT, the purist’s choice
If you grew up with retro games, you know they were designed for a CRT. Light gun games only work on CRT televisions. The scanlines, the phosphor glow, the motion clarity — no modern display replicates any of it perfectly. And the input lag of a good CRT is effectively zero, which matters enormously for games like Contra or Punch-Out!!.
The downsides are real, though. CRTs are heavy, they take up a lot of space, they are getting harder to find in good condition, and the best models (trinitrons, PVM broadcast monitors) cost real money now. A 20-inch consumer set is the practical sweet spot for most people. A PVM is gorgeous but you will pay collector prices for one.
If you decide to go CRT, the practical advice is simple: buy locally, buy a set you can physically carry, and check the geometry with a grid pattern before you hand over cash. A slightly imperfect consumer CRT beats a pristine PVM that you have to ship.
Option B: The modern display, with the right scaler
If you want to use the TV you already own, you absolutely can — but you cannot just plug a composite cable into a modern TV and call it a day. The result will be mushy, blurry, and laggy, and you will hate it. You need a good scaler in the chain.
The two names you will hear everywhere are the RetroTINK and the OSSC. The RetroTINK 4K is the current king of the hill, but it is expensive. The RetroTINK 5X is a more reasonable step up, and the 2X models are a genuinely great budget entry. The OSSC is a line-doubler that does not deinterlace, which means it is brilliant for 240p and 480p content but poor for interlaced 480i material.
I have also been genuinely impressed by the cheaper scalers that have appeared in the last few years, but I have learned to be cautious with no-name boxes: many of them add noticeable lag, and some are sold with lies on the box. The general rule I give people is that if a scaler costs less than your average video game, it is probably not doing real work.
If this is your route, I strongly suggest reading our deeper breakdown of cables, upscalers, and CRT emulation, because the details (component vs SCART vs RGB) matter a lot.
Option C: Both
Yes, you are allowed to have a CRT for the classic stuff and a modern display for the newer retro systems like the Dreamcast, GameCube, and PS2, where progressive scan and HDMI become realistic. A lot of my favorite setups do exactly this: the CRT holds the 8-bit and 16-bit eras, and a scaler feeds the sixth generation to the big TV. It costs more, but it is also the best of both worlds.
Step Three: Solve the Console-Switching Problem
This is the puzzle that turns a shelf of consoles into a real setup. Once you have more than one console and one display, you need a way to switch between them, and the options are not created equal.
For a CRT with RGB/SCART
The classic solution is a SCART switcher. Good ones are mechanical (click the button, it physically connects the lines) and add zero lag. The gscartsw is the reference quality unit, but it is pricey and made in small batches. On a budget, a decent manual SCART switch does the same job with only slightly worse shielding. The one thing I would avoid at any price is a cheap auto-switching unit: they misdetect sync, they pop, and they drive you insane.
For a modern display with a scaler
The elegant solution here is an HDMI matrix switch. You run your RetroTINK or OSSC output into it, along with whatever else you want on the TV, and you switch inputs on the matrix instead of crawling behind the TV. Do not buy a cheap HDMI switch for this — the bad ones introduce lag and drop sync. Look for a powered, properly shielded unit and you will be fine.
The component video situation
If your consoles output component (GameCube, PS2, Xbox, original Wii), a component switcher fills the same role. A quality unit with good shielding will keep the signal clean. And a final tip from my own pain: label every single cable with a cable tag on both ends. You will thank me in six months when you have to move one console.
Step Four: Sort Out the Audio
People treat audio as an afterthought, and it is a mistake. Half of the nostalgia of a retro game is the sound, and a tinny TV speaker or a buzzing SCART connection will ruin it.
The easiest win is to route audio through the same signal path as the video. SCART carries audio, so a good SCART chain usually brings clean sound along with it. With component video, you typically need to run separate RCA audio cables. Once you have a switch in the chain, get the version that also switches audio, so you do not end up managing a tangle of separate audio cables.
For speakers, you do not need anything exotic. A decent pair of powered bookshelf speakers will run circles around a soundbar for this kind of content, and they are cheap. If you want the full period-accurate experience, a pair of retro-style speakers on the same shelf as the CRT looks fantastic and sounds great for chiptunes.
Step Five: Organize the Collection
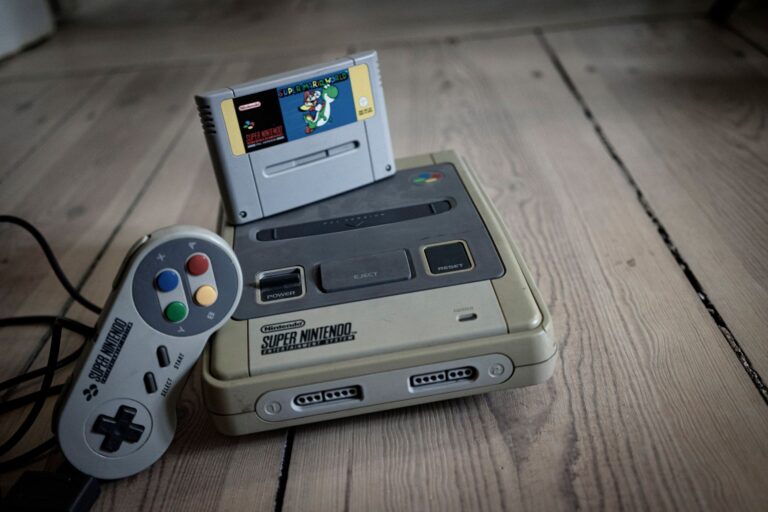
Here is the part nobody shows you in the beautiful setup photos: where do the games live? A shelf of cartridges is both the best-looking and the most practical part of a retro gaming setup, but only if you think about it before you buy shelves.
Measure your carts. Yes, really. SNES carts, N64 carts, and Mega Drive carts all have different heights and depths, and a shelf that fits one perfectly will waste a third of its space on another. If you mix formats, an adjustable shelf is almost mandatory.
For loose cartridges, the options are individual protective cases (they look uniform and keep dust off, but they cost money per cartridge) or open shelves where you can grab a game by the label edge. I personally keep my most-played games face-out and the rest spine-out; it is a small touch that makes the shelf feel alive.
If you are collecting discs, protect them. Paper sleeves scratch jewel cases, and scratches on the disc are permanent. Invest in disc sleeves or, for your most valuable titles, aftermarket replacement cases. Keep the collection away from direct sunlight — nobody warns you about this until a row of Sega CD cases has yellowed.
Step Six: Cable Management, the Unsung Hero
Every setup photo looks clean until you look behind the TV. Cable management is not about being neat for its own sake — it is about protecting your gear. A loose cable that gets yanked can take a console port with it, and those ports are not replaceable on original hardware.
My practical advice after three rebuilds:
Plan a single cable run. All the video, audio, and power cables should travel together in one tidy path from the shelf to the TV, held by cable sleeves or spiral wrap. Never daisy-chain power strips. Six consoles plugged into one cheap strip is a fire risk and a ground-loop noise machine. Use a proper surge protector with enough outlets, or two, and spread the load. Leave service loops. Cut the cabling so there is slack to pull a console out for maintenance. I once had to unscrew a whole shelf because one cable had zero slack. Zip ties are for permanent installs. For gear you swap, use velcro straps or cable wraps that you can undo.
Step Seven: Lighting and Atmosphere
This is where a setup goes from functional to something you actually want to spend evenings in. Lighting is the cheapest way to transform a room, and for a retro gaming setup the rules are different from a modern gaming battlestation.
Modern RGB battlestations go for aggressive neon. Retro setups look better with warm, dimmable light. A bias light behind the TV — a warm LED strip on the back of the display — reduces eye strain and makes the screen pop, and it costs almost nothing. A small desk lamp with a warm bulb over the console shelf gives the whole thing a cozy, arcade-adjacent feel that LED rainbow strips completely kill.
If you want a touch of playful color, a neon-style sign or a poster wall with your favorite game art adds personality without turning the room into a casino. And on the practical side, make sure the light does not hit the CRT screen directly: glare on a glass tube is worse than glare on a flat panel.
Step Eight: Set a Budget by Tier
I get asked about budget constantly, so let me give you three honest breakdowns. These are for the video chain, storage, and cabling — not the consoles themselves, since your console collection is a separate rabbit hole.
The budget setup (under $150)
A small consumer CRT you found locally ($30–60 if you are lucky, free on the right day), a decent SCART or composite switcher ($20–40), proper cables for your consoles ($30–50), and a basic shelf you already own. This is a completely legit setup for 8-bit and 16-bit gaming, and it can look gorgeous. The only real sacrifice is convenience: you will be plugging and unplugging consoles, and there is no modern TV in the mix.
The mid-tier setup ($300–600)
A RetroTINK 5X or a good 2X scaler ($150–350), a quality powered SCART/component switch ($50–150), proper cables, and an HDMI matrix if you have several modern-output consoles. This is the sweet spot for most people: you get near-zero lag, great picture on your modern TV, and clean switching. This is what I run for my sixth-generation consoles.
The enthusiast setup ($1,000+)
A RetroTINK 4K, premium cables, a gscartsw or equivalent, a dedicated CRT for the classics, and maybe a second display. This is where diminishing returns live, but if you have the budget and the space, it is glorious. Just know that the last 10% of quality costs more than the first 90%.
Common Mistakes I See Everywhere
I have tested enough setups to rattle off the same five mistakes on repeat. Here they are, so you can avoid them.
Buying the cheapest scaler. The $30 “upscaler” from a random seller adds lag and destroys the picture. Save up for something real. Using a $5 HDMI switch. Same story, same lag, same sync drops. Ignoring input lag entirely. Some people genuinely cannot feel 50ms of lag. Most can, once they play a rhythm game or a platformer. If you can, budget for quality in the video chain. Over-buying consoles. You do not need six consoles permanently wired. Start with the two you actually play. Forgetting about power. Undervolted power supplies cause weird crashes and corrupt saves on original hardware. Use the original PSUs or trusted third-party replacements, never cheap no-name adapters.
Final Checklist Before You Buy
Print this, or save it. Before you spend any money, run through it:
1. Do I know which consoles I will actually keep connected? 2. Have I chosen my display (CRT, modern + scaler, or both)? 3. Is my switcher appropriate for my signal type (SCART, component, HDMI)? 4. Have I budgeted for proper cables, not whatever comes in the box? 5. Do I have enough surge-protected outlets? 6. Have I measured my cartridges against my shelves? 7. Is my audio routed with the video, or am I about to have a cable nightmare?
Answer those seven questions and you are ready to build something you will actually love — not a photo prop, not a money pit, but a setup you will play on every week.
Frequently Asked Questions
Is a CRT really necessary for retro gaming?
No, but it is the best way to play 8-bit and 16-bit games as they were designed. A good scaler on a modern TV comes impressively close and is far more practical if you have limited space or also want to play sixth-generation consoles. Light gun games are the one hard requirement: they only work on CRT televisions.
What is the best scaler for retro gaming?
The RetroTINK 5X is the most balanced recommendation: great picture quality, handles most signals well, and is far cheaper than the 4K. If you only play 240p content, the OSSC is a strong, cheaper alternative, but it will not deinterlace 480i properly.
How do I reduce input lag?
Use a good scaler, avoid cheap switches, and disable as much post-processing on your TV as possible (game mode is your friend). A CRT has effectively zero lag if you go that route. If you can feel lag in rhythm or platforming games, that is the signal to upgrade the video chain.
Can I mix a CRT and a modern display in one setup?
Absolutely, and it is the setup I recommend to people who want the best of both worlds. Keep the CRT for 8-bit and 16-bit classics, and feed sixth-generation consoles through a scaler to a modern TV. Just plan for two video chains in your cabling.
Start Small, Build It Right
I have given you a lot here, and I know it can feel overwhelming. So let me end with the most honest piece of advice I have: start with one console, one good cable, and one display you actually understand. Get that working beautifully. Then add the next console, the switcher, the storage, and the lighting one step at a time.
A retro gaming setup is not a purchase — it is a process. Mine is still changing, and that is the fun of it. Get the foundations right and you will have a setup that keeps you playing for years, not a shelf of regrets.
If you want to dive deeper into the video side of things, our guide on playing retro games on a modern TV covers cables, upscalers, and CRT emulation in detail. And when you are ready to start (or expand) your collection, the complete guide to retro gaming consoles will help you choose the hardware that deserves a spot in your setup.